Categories
Welcome to the Singer Sewing Machine Instruction Manual, your comprehensive guide to mastering your sewing machine. This manual is designed for both beginners and experienced users, providing detailed instructions to ensure safe and efficient operation. Inside, you’ll find step-by-step guides, safety tips, and troubleshooting advice to help you get the most out of your Singer sewing machine. Whether you’re sewing clothes, home decor, or crafts, this manual will be your trusted companion.
Reading the Singer Sewing Machine Instruction Manual is essential for safe and effective operation. It provides critical safety precautions, machine setup, and troubleshooting tips. Understanding the manual ensures you maximize the machine’s potential and avoid common mistakes. It serves as a vital resource for both beginners and experienced users, covering proper usage, maintenance, and customization options. Always keep the manual handy for quick reference.
The Singer sewing machine is a versatile and reliable appliance designed for various sewing tasks. It features advanced stitching options, automatic functions, and user-friendly controls. With a robust design and durable construction, it caters to both home and professional use. The machine is equipped with essential components like a bobbin system, tension controls, and multiple stitch settings, ensuring high-quality results for garments, home decor, and crafting projects.
Always follow safety guidelines to ensure safe operation. Keep children away, avoid loose clothing, and unplug the machine during maintenance. Read manual carefully before use.
Always prioritize safety when using your Singer sewing machine. Read the manual thoroughly and follow all guidelines. Keep children and pets away, wear short sleeves, and tie back long hair. Avoid loose jewelry and ensure the machine is on a stable surface. Never leave it unattended while operating, and keep the area clean and clear of clutter. Use the machine only for its intended purpose and disconnect power when not in use or during maintenance.
Always follow specific warnings for Singer sewing machines to ensure safe operation. Avoid using damaged cords or plugs, and never expose the machine to water or extreme temperatures. Use only Singer-recommended parts and accessories to maintain safety and performance. Keep fingers away from moving parts, and ensure the machine is properly grounded. Follow guidelines for servicing double-insulated appliances, as specified in the manual, to prevent electrical hazards and ensure longevity of your machine.
Understanding your Singer sewing machine involves familiarizing yourself with its parts, components, and diagrams. This knowledge is essential for proper operation, troubleshooting, and maximizing its features. Use the manual to identify and learn about each part, ensuring safe and effective use of your machine.
Understanding the parts and components of your Singer sewing machine is crucial for its proper operation. Key elements include the needle, bobbin, spool pins, stitch selector, and tension dials. The machine also features a foot pedal, power switch, and thread take-up lever. Familiarize yourself with the sewing head, arm, and free-arm option for versatile sewing. Refer to the manual’s diagrams for clear identification and descriptions of each part to ensure safe and effective use.
The Singer sewing machine manual includes detailed diagrams to help users identify and understand each part. Clear labels and visual guides ensure easy navigation. These diagrams highlight key components, such as the bobbin area, tension dials, and stitch selectors, making it simpler to follow instructions. Refer to these visuals for accurate assembly, threading, and operation of your machine.

Proper threading and setup are crucial for smooth operation. Follow the manual’s step-by-step guide to thread the machine correctly and install the bobbin. Ensure all parts are securely in place for optimal performance.
Threading your Singer sewing machine correctly ensures smooth stitching. Start by turning the handwheel to raise the take-up lever. Insert the thread through the spool pin, then guide it through the tension discs. Next, loop the thread around the check spring and pull gently to seat it. Finally, pass the thread through the needle’s eye. Always use the correct thread type for your fabric. Keep the thread taut but not overly tight to maintain proper tension. Refer to the diagrams for visual guidance if needed.
Properly winding and installing the bobbin is essential for smooth stitching. Place the bobbin on the winder, ensuring it clicks into position. Thread the machine as instructed, then wind the bobbin evenly. Once full, cut the thread and remove the bobbin. Insert the bobbin into the bobbin case, ensuring it seats correctly. Gently pull the thread to ensure proper tension. Always use the correct bobbin size for your machine to avoid stitching issues.
Master the fundamentals of sewing with step-by-step guidance on basic operations. Learn to thread, stitch, and sew with confidence using your Singer sewing machine.
Selecting the right stitch type is essential for achieving professional results. Choose from straight stitch for basic sewing, zigzag for stretchy fabrics, or decorative stitches for embellishments. Use the Singer manual’s stitch guide to identify the best stitch for your project. Adjust stitch length and width as needed for optimal performance. Proper stitch selection ensures strong seams and enhances the overall quality of your work. Always refer to the manual for specific recommendations.
Proper tension and stitch length adjustments are crucial for consistent sewing results. Refer to your Singer manual to adjust thread tension for different fabrics, ensuring even stitching. Shorter stitches are ideal for delicate materials, while longer stitches suit heavier fabrics. Use the manual’s guidance to fine-tune settings and achieve smooth, balanced seams. Correct tension prevents puckering or loose threads, while optimal stitch length enhances durability and appearance.
Explore advanced features like automatic threading, programmable stitches, and memory storage for custom patterns. These innovations enhance creativity and efficiency, making complex projects easier and faster to complete.
The Singer sewing machine offers advanced automatic functions to simplify your sewing experience. Features like automatic threading, tension adjustment, and stitch selection allow for effortless operation. Use the built-in sensors to detect fabric thickness and adjust settings automatically. These functions ensure consistent stitching and reduce manual effort, making even complex projects easier to handle. Experiment with various automatic modes to achieve professional results with minimal effort.
Enhance your sewing projects with the Singer machine’s customizable stitch and pattern options. Choose from a variety of built-in stitches, including decorative, stretch, and utility stitches. Adjust stitch length and width to suit your fabric type. For personalized touches, combine patterns or create unique designs using the machine’s memory function. Experiment with different settings to achieve the perfect look for your creations, ensuring each project is truly one-of-a-kind.

Regular maintenance is key to ensuring your Singer sewing machine performs optimally. Clean and oil the machine as instructed, and use only genuine Singer parts. Troubleshooting common issues like thread breakage or uneven stitches is easy with the guide.Refer to the subheadings for detailed cleaning steps and solutions to common problems.
Regular cleaning and oiling are essential to maintain your Singer sewing machine’s performance. Use a lint brush to remove dust and debris from the bobbin area and tension discs. Apply a few drops of Singer-approved sewing machine oil to moving parts, avoiding the needle bar. Never use household oils, as they can damage the machine. Clean the exterior with a soft cloth and mild soap. Oil the machine after every 10 hours of use to ensure smooth operation and prevent rust.
Common issues with Singer sewing machines include thread jams, uneven stitches, and machine noise. Check for tangled threads, incorrect tension settings, or lint buildup. Ensure the bobbin is properly seated and the needle is aligned; For noise, inspect for loose parts or debris. Refer to the manual for specific troubleshooting steps. Regular maintenance, like cleaning and oiling, can prevent many of these issues. Always use genuine Singer parts for repairs to maintain performance and warranty validity.

Access the Singer Sewing Machine Manual online as a free PDF download. Visit Singer’s official website or trusted sources to find and print the manual easily.
Downloading the Singer Sewing Machine Manual PDF is straightforward. Visit Singer’s official website or trusted sources like ManualsLib or ManualsOnline. Search for your specific model, then click the download link to access the PDF. Ensure the source is reliable to avoid incorrect or outdated information. Once downloaded, save the file for easy reference and printing.
Accessing free Singer sewing machine manuals is easy through various online resources. Singer’s official website offers downloadable PDF manuals for most models. Additionally, websites like ManualsLib, ManualsOnline, and SewingPartsOnline provide free access to Singer manuals. These platforms allow you to search by model number and download the manual instantly. Ensure the source is reputable to guarantee accuracy and safety.
Singer sewing machines have revolutionized the industry since the 1800s, introducing innovative designs that transformed home sewing and industrial manufacturing, leaving a lasting legacy.
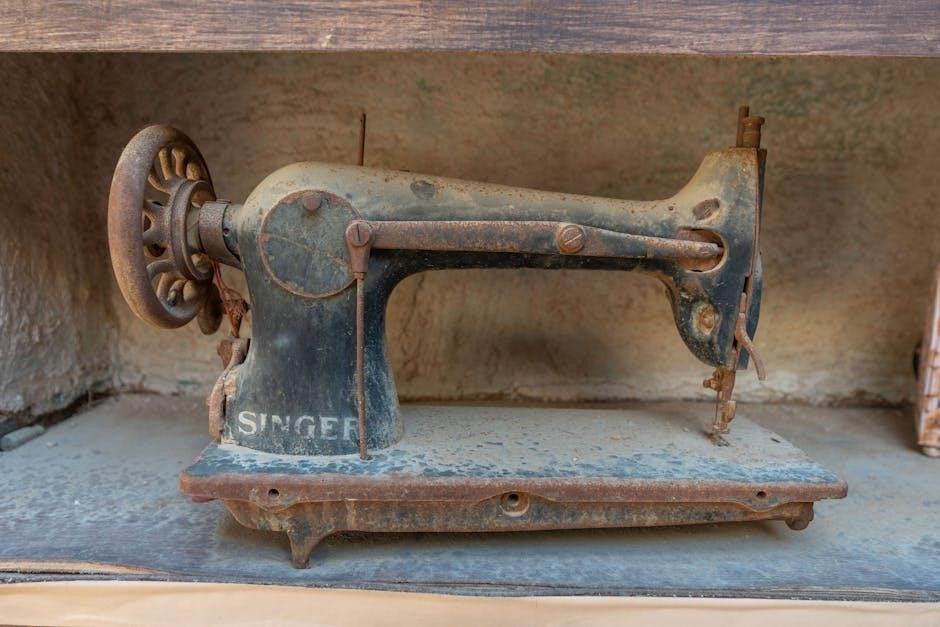
The Singer Sewing Machine Company, founded in 1851 by Isaac Singer, revolutionized sewing with its first practical sewing machine. Known for its innovative designs, Singer introduced the vibrating shuttle mechanism, making sewing faster and more efficient. Over the years, Singer machines evolved from mechanical to electric models, becoming indispensable in both home and industrial settings. This legacy continues, with Singer remaining a trusted name in sewing technology.
Over the years, Singer sewing machine manuals have evolved significantly, adapting to technological advancements and user needs. Early manuals were basic, focusing on mechanical operations. Modern manuals now include detailed diagrams, troubleshooting guides, and digital formats like PDFs for easy access. They emphasize safety, maintenance, and advanced features, ensuring users can fully utilize their machines. This evolution reflects Singer’s commitment to user-friendly, comprehensive guidance.
Explore supplementary materials like stitch guides, error code charts, and additional resources to enhance your sewing experience and troubleshoot common issues effectively.
Stitch guides and charts are essential resources for optimizing your sewing projects. These materials provide detailed visual aids and instructions for selecting the right stitches, tensions, and fabric settings. Whether you’re stitching straight lines or intricate patterns, the guides offer step-by-step tutorials. Charts also help troubleshoot common issues like thread breakage or uneven stitching. Use these tools to master various techniques and achieve professional-quality results with your Singer sewing machine.
This section provides a comprehensive list of error codes specific to Singer sewing machines, along with practical solutions to resolve them. From thread jamming to motor issues, each code is explained with clear, actionable steps. Refer to the manual or download the PDF guide for detailed troubleshooting. Addressing errors promptly ensures optimal machine performance and extends its lifespan. Consult the error code chart for quick fixes and maintenance tips.
Mastering your Singer sewing machine starts with simple steps. Begin with basic stitches, practice on scrap fabric, and follow the manual’s guidance for a smooth learning curve.
Starting your first sewing project with a Singer machine is exciting! Begin with a simple task, like sewing a straight line or hemming fabric. Choose a basic stitch pattern and medium fabric. Ensure the machine is properly threaded and the bobbin is installed. Refer to the manual for clear guidance on setting up your project. Practice on scrap material first to build confidence. Always follow safety tips and enjoy the creative process!
When using your Singer sewing machine, avoid common mistakes by following the manual’s guidelines. Ensure proper threading and tension settings, as incorrect adjustments can lead to uneven stitches. Always use the correct needle type and fabric for your project. Never overlook safety precautions, such as keeping loose clothing tied back. Practice on scrap fabric before starting your final project to test settings and techniques. This will help you achieve professional results and avoid costly errors.