Categories
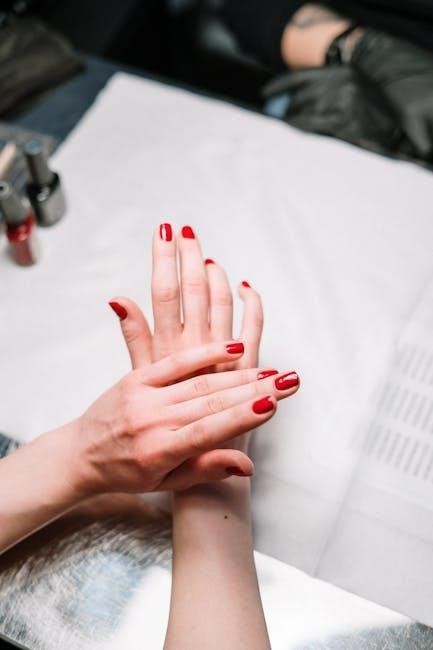
Start by shaping your nails to desired length and shape. Push back cuticles, buff nails to remove oils, and clean thoroughly with alcohol to ensure adhesion.
Nail shaping is the first step in preparing for gel nails. Use nail clippers to trim and shape your nails to your desired length and style, whether oval, square, or almond. File the edges to smooth any roughness and create a uniform shape. Gently buff the surface of the nails to remove ridges and imperfections, ensuring a smooth canvas for the gel polish. Be careful not to over-file, as this can weaken the nail. The goal is to achieve a shape that complements your natural nail bed and hand shape, providing a sturdy foundation for the gel application.
Proper cuticle care is essential for a clean and professional-looking gel nail application. Start by applying a cuticle softener or remover to loosen the cuticles. Gently push back the cuticles using a cuticle pusher or orange stick, being careful not to cause irritation or bleeding. Avoid cutting the cuticles, as this can lead to infection. Once the cuticles are pushed back, use a lint-free wipe to remove any excess softener or dead skin. Finish by applying a small amount of cuticle oil to moisturize and protect the area. This step ensures a smooth surface for the gel polish and helps prevent lifting or peeling during the application process.
Buffing is a crucial step in preparing your nails for gel polish. Using a nail buffer, gently buff the surface of each nail to remove ridges and create a smooth texture. Start with a coarse grit buffer (about 100-150 grit) to shape and even out the nail surface. Then, switch to a finer grit buffer (220-240 grit) to polish and remove any remaining imperfections. Be careful not to buff too aggressively, as this can weaken the nail. After buffing, use a lint-free wipe to remove any dust or debris. This step ensures better adhesion of the gel polish and helps achieve a long-lasting, professional finish. Buffing also helps prevent peeling by creating a clean, even surface for the gel to adhere to.
Cleaning and degreasing are essential to ensure proper adhesion of the gel polish. Using a lint-free wipe soaked in nail cleanser or acetone, gently wipe each nail surface, removing any oils, residue, or moisture. Pay special attention to the cuticle area and nail edges, as these are common spots for residue buildup. Repeat the process if necessary to achieve a completely clean surface. Avoid touching the nails after cleaning, as natural oils from your skin can interfere with adhesion. This step ensures a strong bond between the nail and the gel, preventing peeling and lifting. Proper cleaning and degreasing are key to a long-lasting, professional-looking gel manicure. Always use a high-quality cleanser to guarantee optimal results.
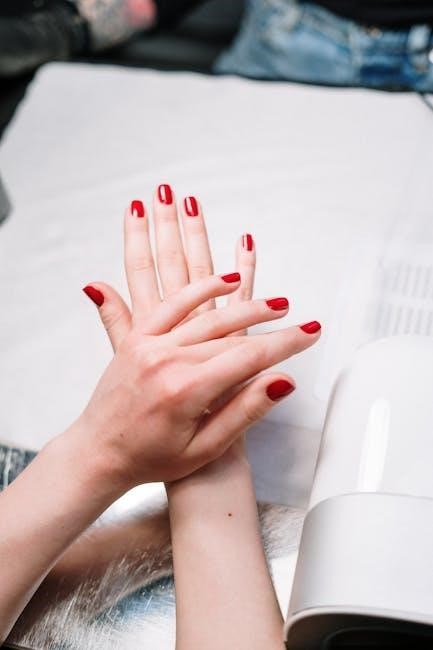
Apply a thin, even layer of base coat across the nail surface, capping the free edge. Cure under the UV lamp for 30 seconds to create a protective layer and ensure proper adhesion.
Applying a thin base coat is crucial for a long-lasting gel manicure. Start by dipping the brush into the base coat bottle, ensuring it’s not overloaded with product. Wipe any excess against the bottle’s rim to achieve a precise application. Place the brush in the center of the nail and gently push it toward the cuticle, being careful not to flood the area. Then, pull the brush forward to cover the entire nail surface, making sure to cap the free edge. This step ensures the gel adheres properly and protects the nail from staining. Cure the base coat under the UV or LED lamp according to the manufacturer’s instructions, typically 30 seconds to a minute, depending on the lamp’s strength. A well-applied base coat creates a smooth foundation for the gel polish, enhancing the overall finish and durability of the manicure.

Apply a thin, even layer of gel polish, starting at the center and spreading outward. Cap the free edge for full coverage and cure under the lamp.
Apply a thin, even first coat of gel polish, starting at the center of the nail and spreading outward in smooth strokes. Ensure coverage across the entire nail surface, including the tip, to create a strong foundation. Avoid thick layers to prevent uneven curing. After application, place your hand under the UV or LED lamp and cure for the recommended time, usually 30 seconds to a minute, depending on the lamp’s intensity. Proper curing ensures the polish adheres well and lasts longer. Once cured, the surface should be tacky but not wet, preparing it for the second coat. This step is crucial for achieving a professional finish.
Apply a second thin coat of gel polish, following the same technique as the first coat. This layer should enhance color opacity and ensure even coverage. Start at the center, spread outward, and cap the free edge for a sealed finish. Avoid overloading the brush, as this can lead to unevenness. Cure the polish under the UV or LED lamp for the same duration as the first coat. After curing, the surface should appear smooth and vibrant. If necessary, repeat for additional coats, but two layers are typically sufficient for most colors. Properly cleaning up any excess polish around the cuticles before curing ensures a neat, professional-looking result. This step is essential for achieving the desired color intensity and longevity of the gel manicure.
Apply a thin top coat to seal the gel polish, ensuring a glossy finish. Cure under a UV/LED lamp to set and prevent smudging. This step finalizes the manicure for a professional look.
Apply a thin, even layer of top coat to seal the gel polish and add a glossy finish. Ensure the brush strokes are smooth and avoid pooling near the cuticles. Cure the top coat under the UV or LED lamp for the recommended time, typically 30 seconds to a minute, depending on the brand. This step locks in the color and creates a durable, long-lasting finish. After curing, wipe away any excess with a lint-free wipe soaked in alcohol. Finally, apply cuticle oil to hydrate the nail bed and cuticles, completing the gel nail application process for a professional-looking result.
Cleanse the nails with a lint-free wipe and alcohol to remove residue. Apply cuticle oil to hydrate and protect the nail bed and surrounding skin.
Cleanse the nails thoroughly using a lint-free wipe soaked in nail cleanser or alcohol. Gently remove any residue, excess gel, or oils from the nail surface. Ensure the area around the cuticles and nail bed is clean to prevent smudging. Avoid touching the cleaned nails with your fingers to maintain a contamination-free surface. This step ensures the top coat adheres properly and leaves a smooth, professional finish. Use a cotton swab dipped in cleanser to clean around the edges if needed. Repeat until no residue remains. Proper cleansing is essential for a long-lasting, chip-free gel manicure. Always follow this step before applying cuticle oil for optimal results.
Finish by gently applying a small amount of cuticle oil to the cuticles and surrounding skin. Use a cotton swab for precise application, avoiding the nail surface. This step moisturizes and soothes the cuticles, preventing dryness and irritation from the gel process. Regular use helps maintain healthy nails and cuticles, supporting their natural growth and appearance. Let the oil absorb fully before handling anything to avoid smudging or residue. This final touch enhances the overall manicure and promotes nail health, ensuring a polished and professional finish that lasts longer.